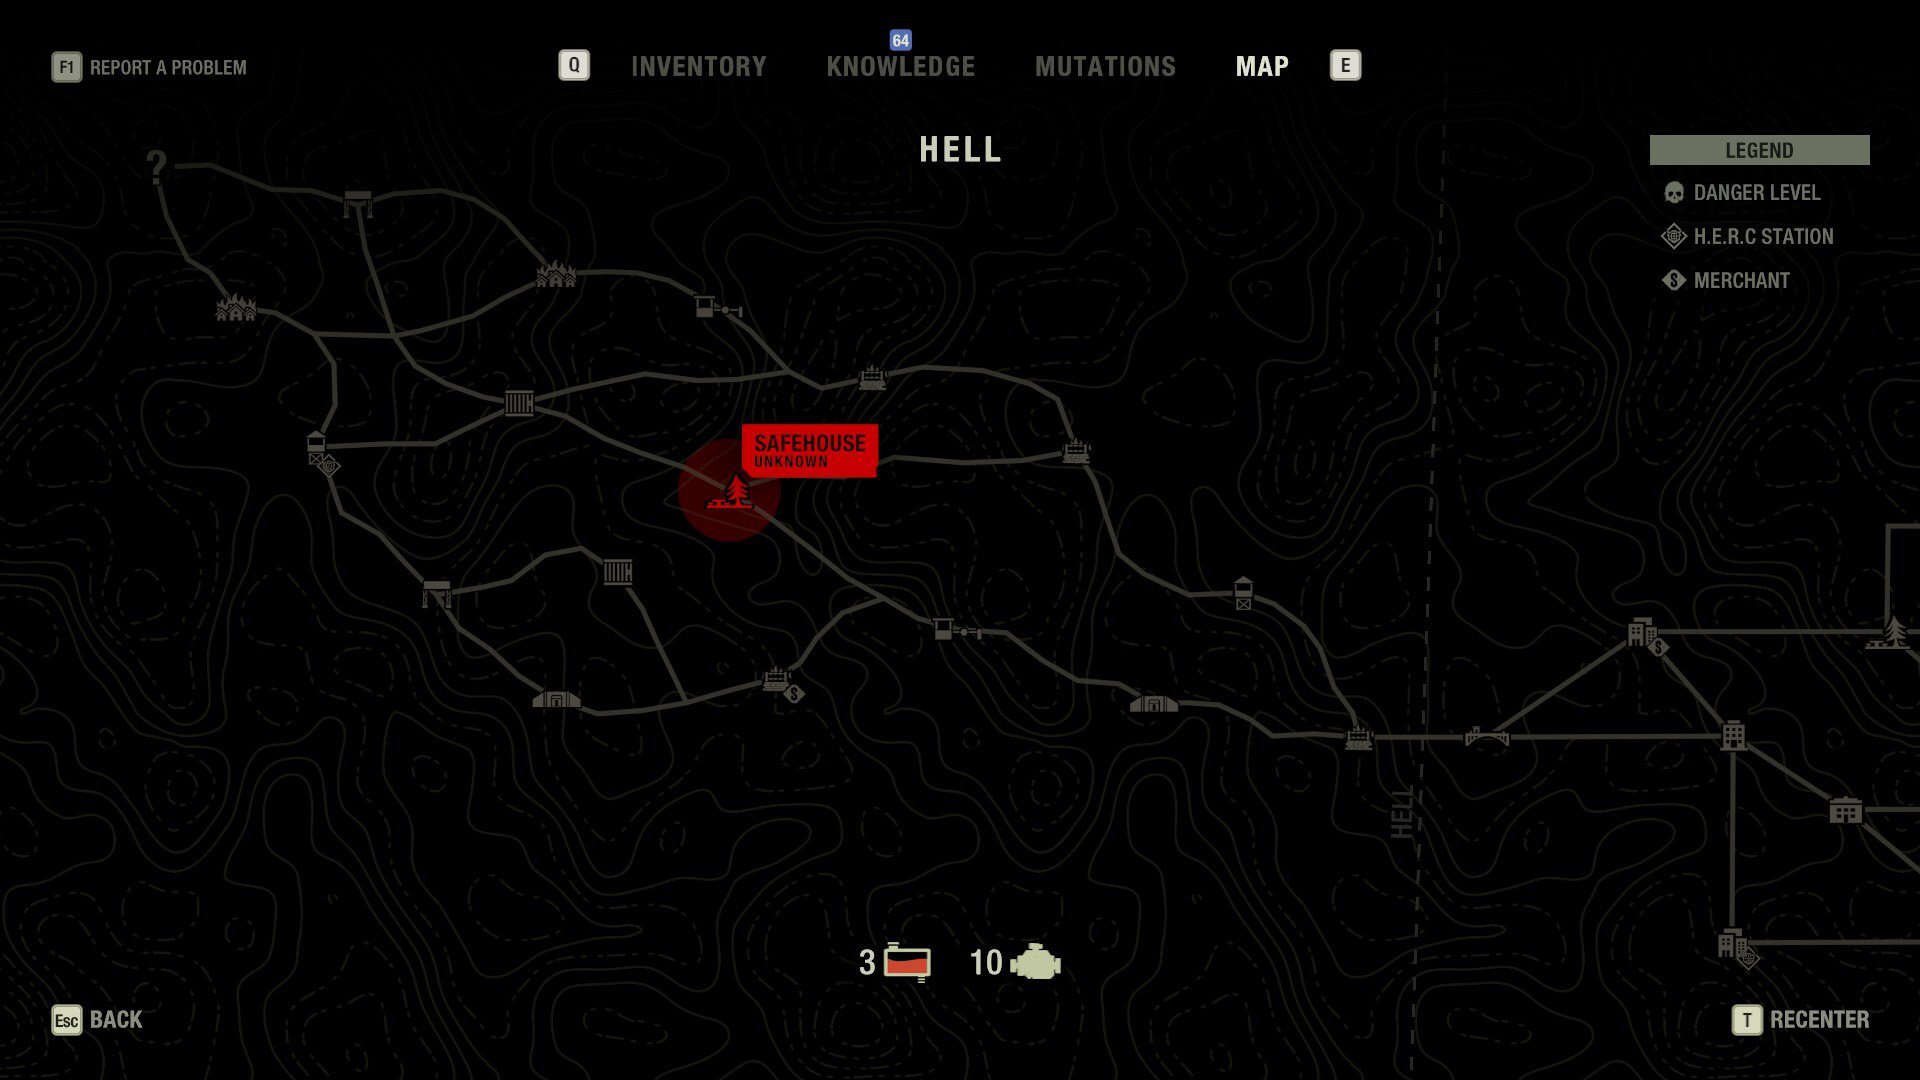
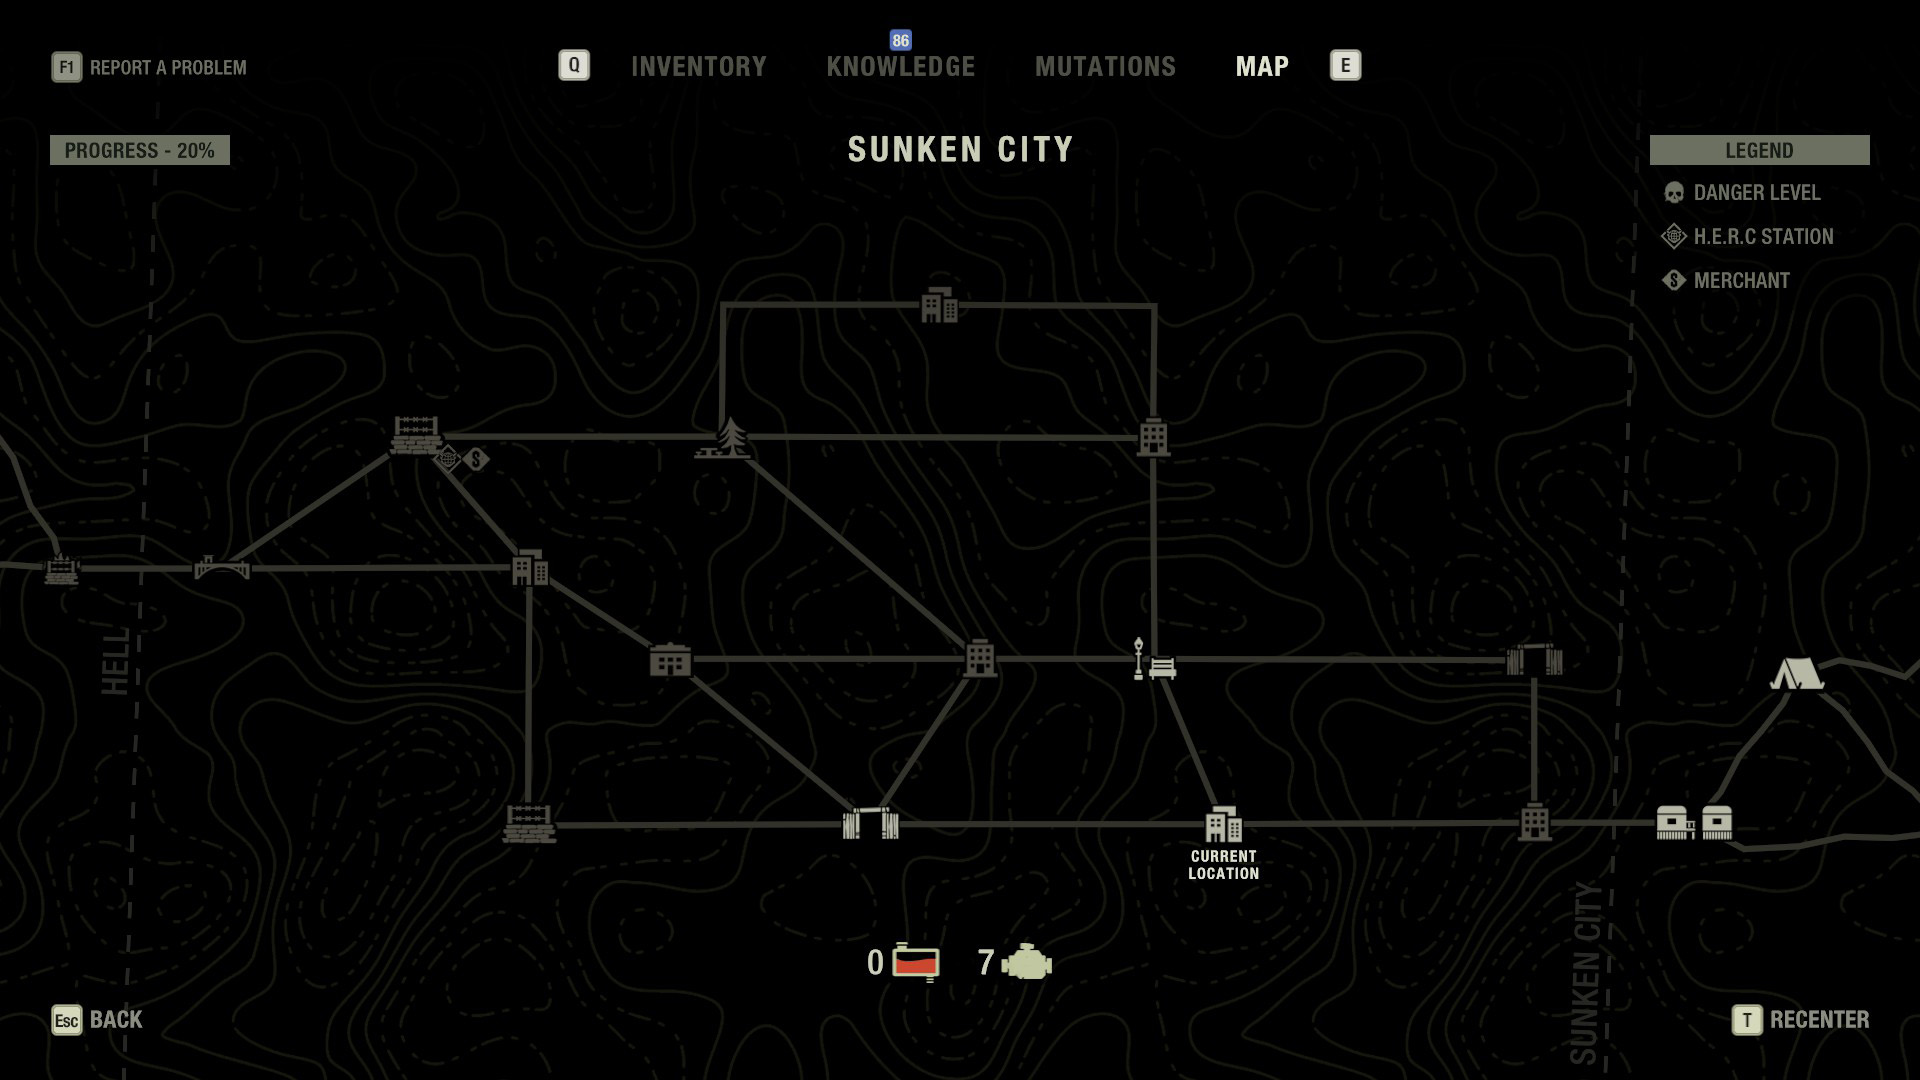
The Last Stand: Aftermath takes place in a huge and sprawling world, and all those areas can be a bit confusing. What is the difference between a military outpost and a checkpoint? What are all these safehouses about? Why are log cabins and camping grounds basically the same thing? All of these questions, and more, will be answered in our The Last Stand: Aftermath Area Guide.
Last Stand: Aftermath Areas – Universal

These can be found anywhere in the world, not just in specific areas.
Safehouses
These are areas where you don’t have to worry about the threat of a zombie suddenly ripping your throat out. They can be different in size and style depending on where you are, but they always provide you some fuel, and typically a radio to call home for upgrades with. You can usually find other supplies here as well, such as herbs and random misc junk. One you’ve upgraded them, you’ll also find ammo, crafting supplies, and healing items here too.
Military Outpost/Base/Checkpoint
All basically the same thing at different scales that go up along with the areas you travel to. Here you can usually find a decent amount of ammo, and almost certainly some Antiviral, but you’ll also typically have to deal with more zombies, and stronger ones to boot. There are some strats here, involving using the unbreakable padlock gates to your advantage, but other than that just go in with confidence and a big gun to come home with loads of loot.
The Middle of Nowhere
An absolute travesty of a place that should be avoided. All you’re going to find here most of the time is a lot of zombies, and some fuel to get you were you need to be. Should be noted that occasionally you can actually find some decent loot here, like batteries, but it’s rare.
Supply Cache
Supple caches can be in any kind of area but you will find at least one supple cache, usually in the middle of the place. You’ll have to activate them, attracting a horde for you to fight.
Gas Station
More likely to have gas which is great, especially once you’ve increased fuel efficiency and unlocked the ability to drive through more areas. These make great stops even if you can technically go further with the fuel that you currently have.
Last Stand: Aftermath Areas – Suburbs

Small/ Large Neighborhood
A complete random mix of different things. You can find any kind of loot here, and any number of zeds to deal with too. Watch out for basements to explore in these areas as they contain decent loot most of the time. You should also keep an eye out for traps, as some people have booby-trapped their homes. If you’re entering a home, keep an eye out for random shotguns near doorways, or mysterious-looking lights.
Store/Stripmall
Areas that are usually heavy in supplies, but the supplies are at complete random. Most stores seem to have been ransacked long before you got here. The type of supplies you’re most likely to find will depend on the store in question. For instance, a gun store will have more guns, while a drug store will have more medicine, etc. Sometimes you’ll find a group of stores all nearby to each other, which is insanely useful for gathering a variety of supplies.
Restaurant
Typically pretty similar to the store location, but you’re (supposedly) more likely to come across food here. As with any indoor location, be careful you don’t get caught around corners.
H.E.R.C Blockade
An area that you’ll have to stop at each time you leave the suburbs. Your first time here puts you through the challenge of breaking through the wall.
Last Stand: Aftermath Areas – Mountains

Rural Neighborhood
Similar to the neighborhoods in the suburbs, but more rural (natch). The biggest difference here is that you’re going to see fewer houses, as these places have homes spread much further apart. Because you’re into the second area by this stage, you’re also more likely to see special zombies and the like.
Logging Camp
A rural area filled with a pretty wide variety of supplies, but also filled with zombies. There’s also at least one river for you to cross which can be a bit of a pain.
Camp Ground/Log Cabin/Forest
These areas are usually pretty sparse on supplies but can have some good stuff in them. Keep an eye out for zombies hiding in the foliage as they can really catch you by surprise if you’re not on your guard. These areas also typically have big ditches and divots that you’ll need to navigate around if you want to harvest the supplies that are to be found.
Motel
Pretty standard area with lots of rooms to check out. Because it’s so built up it can be easy to get trapped in corners here, but if you’re low on supplies they can be worth risking.
Trailer Park
Not just a great place to set a mockumentary series. This is quite unique in many ways, but also sort of similar to the motel area. You’ll find lots of individual trailers with plenty of loot to find, but there’s also a lot of zeds too. Bear in mind that the trailers can be deathtraps if you get caught unaware.
Last Stand: Aftermath Areas – Sunken City

City Block/Streets/Shopping District
All basically similar takes on the same theme: it’s a city. You’ll have a lot of rubble and crap to deal with, as well as a buttload of zeds, so make sure you’re well-equipped before you pull up to these places.
Abandoned Compound
The previous base of some survivor group, probably evil guys based on the skulls. Either way, not always super heavy on resources, but usually pretty heavy on Zeds. Make sure you’ve upgraded your scavenging rates or you’ll be sorry.
City Park
The one natural area in Sunken City. Basically feels and plays like an upgraded version of the forests from the previous area. Keep an eye out for disguised enemies or you’ll be sorry.
Last Stand: Aftermath Areas – Hell

Observation Post/Containment Camp/Supply Depot
All different versions of the same thing, namely a small built-up area with some limited supplies, but a metric load of zombies. Sometimes there’s also a secondary level to explore, as well as the occasional unreachable area off to the left side that you’ll just have to live with.
Bunker
These areas can be legit sprawling mazes of death. It starts out looking pretty generic, but once you fight your way through turrets and zombies on the surface, you’ll find a network of tunnels filled with enemies, but also filled with supplies. You can get some of the best weapons in the game from these places if you’re lucky and fully upgraded.
Town
What if the neighborhoods from the first area were just on fire? That’s basically this but bigger, and more dangerous enemies. Luckily, the loot has also seen an upgrade. Just watch out for tight corners and try not to use loud weapons unless you have to or you’ll find a horde on your butt quicker than you can blink.
Unknown Signal Source
The last location on the map. This is an underground bunker similar to others you’ve seen, but this is also the place where you’ll face the final boss. Then you’ll also come back here a bunch for the post-game challenges. Apply the rules for tightly enclosed spaces, and the general pain of the late-game areas, and you should come out on top, not that it’ll matter.
The Last Stand: Aftermath Area Guide
Source: Pinay Guide Blog
Walang komento:
Mag-post ng isang Komento